
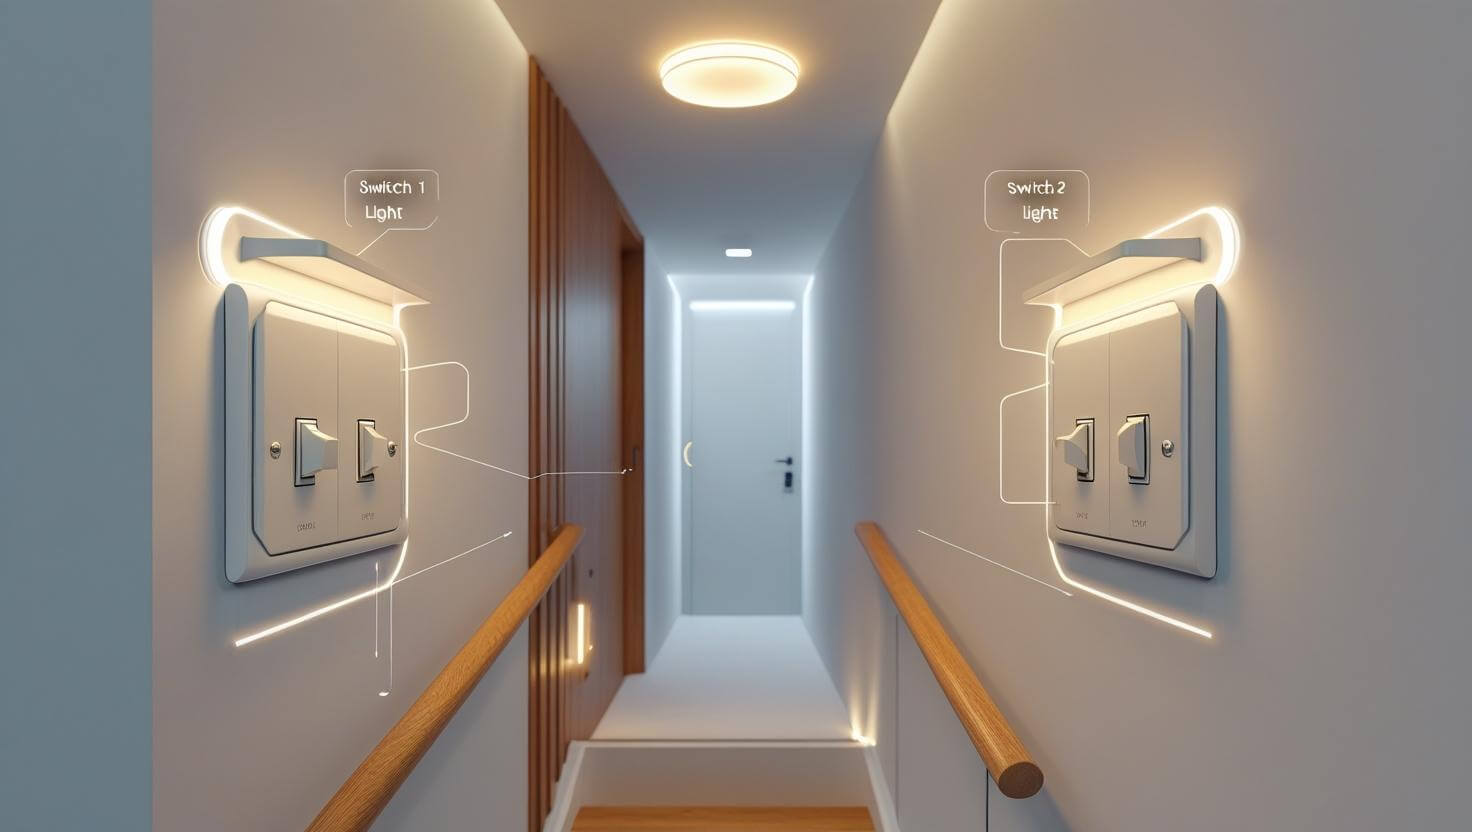
3 way switch wiring might sound intimidating at first, but it’s one of the most rewarding skills a homeowner can master. Imagine having the ability to control a single light from two distinct locations—perfect for lighting stairwells, hallways, and large spaces. This guide strips away the confusion and walks you through each step in a way that’s simple, safe, and empowering. Whether you’re replacing a faulty switch or planning a new home wiring system, this is where confidence begins.
We’ll cover the tools, materials, and all essential steps for success. You’ll also learn about traveler terminals, common wire mistakes, and electrical safety—critical for anyone taking on this task. With diagrams, videos, and expert tips, you’ll go from beginner to DIY pro in no time. Ready to light up your project the right way? Let’s get started.
Tools Required for 3 Way Switch Wiring
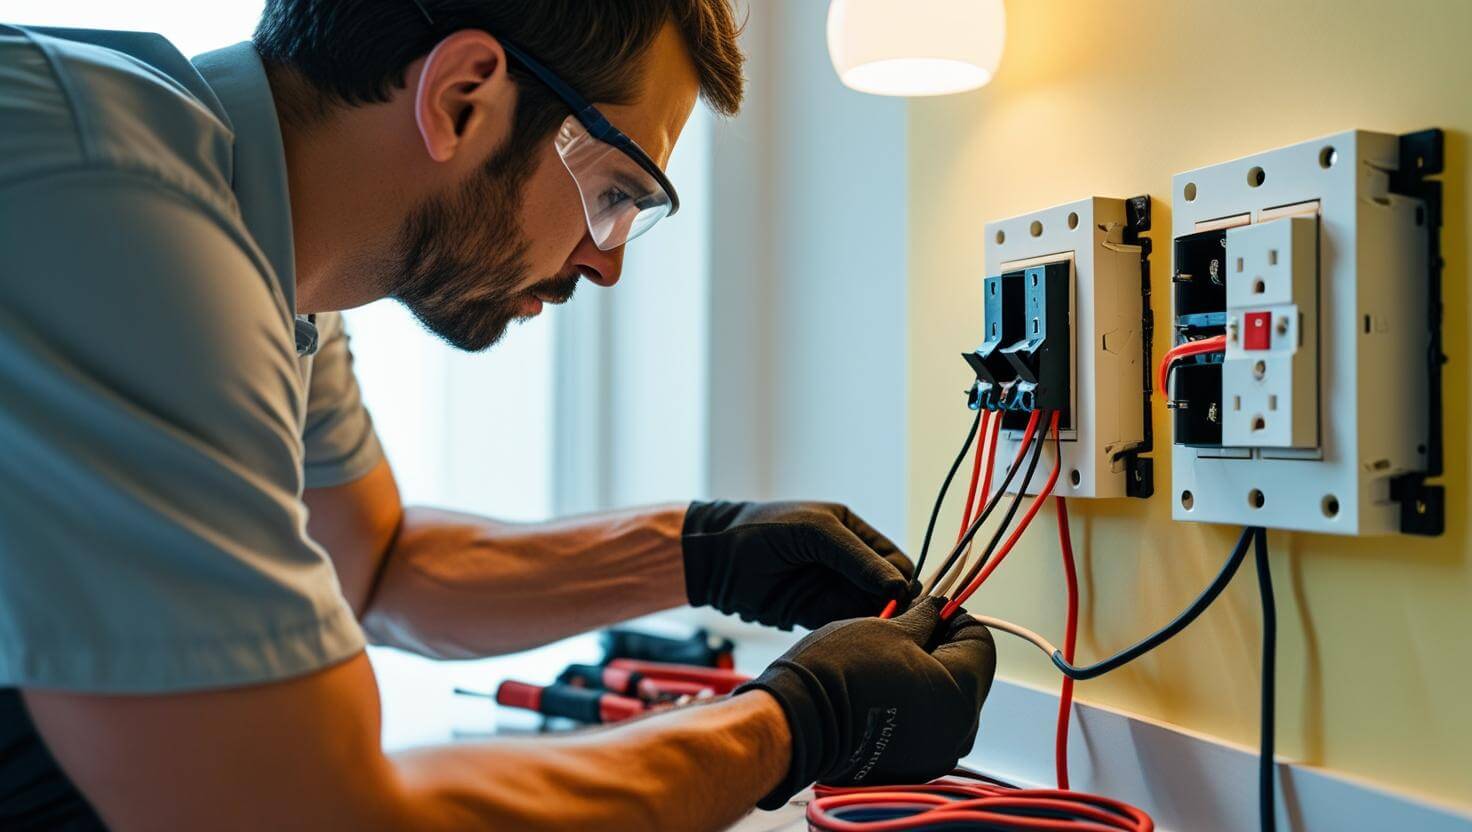
Before you begin your DIY 3-way switch installation, it’s essential to gather the tools needed for 3-way switch wiring. Using the right tools ensures clean connections and proper function. Here are the must-haves: a voltage tester to check for live wire, wire strippers for preparing electrical wires, a flat or Phillips screwdriver, electrical tape for insulation, and wire nuts to secure connections.
You’ll also need a switch plate to finish the look and keep your switch safe. Make sure you’re using the right wire gauge and always follow electrical safety rules. Consult a qualified electrician or the building code agency in your area if you have any questions.
Materials Required
Now that the tools are ready, let’s look at the materials. For wiring a 3-way light switch, you’ll need two 3-way switches, a grounding wire, electrical box, and three-strand electrical wire (often 14/3 or 12/3 depending on the current flow needs).
Each switch box must have enough room for all the wire connections, including the hot wire, neutral wire, load wire, and traveler terminals. You’ll also need terminal screws to secure wires onto switches. The wiring setup should be compatible with your existing home electrical DIY layout.
Watch: How To Wire a 3-Way Light Switch (Video Guide)
Sometimes a visual guide helps more than text. Watch this 3-way switch wiring tutorial to see each step in action.
The video explains how a 3-way switch works and walks you through wire color codes, wire connections, and attaching wires to common terminals and traveler terminals. You’ll also see how to fit the switch plate securely.
Step-by-Step Guide: 3 Way Switch Wiring Project
Turn Off the Circuit Breaker
Turning off the circuit breaker should be your first task. This is critical for electrical safety. Use a voltage tester to double-check there’s no power in the electrical box. Never skip this step.
Pull Cable to Boxes and Light Fixture
Run the electrical wires from the power source to both switch locations and to the light fixture connection. For multi-location light switch setups like lighting from two locations, you’ll need extra wire length.
Prep the Wires for Installation
Use wire strippers to remove about ¾ inch of insulation from each wire end. This includes the grounding wire, hot wire, and travelers. Make sure your wire connections are clean and ready.
Wire the First 3-Way Switch
Attach the hot wire to the common terminal on the first switch. Connect the traveler wires to the brass terminal screws. Wrap all exposed wire with electrical tape.
Wire the Second 3-Way Switch
Instead of receiving the hot wire, the second switch will be connected to the load wire that leads to the light. Once more, utilize the common terminal for the load and match traveler terminals with brass screws.
Connect the Wires to the Light Fixture
In the light box, connect the neutral wire to the light’s white wire, the load wire to the fixture’s hot terminal, and secure the grounding wire.Use wire nuts for safe, tight connections.
Finish Connections and Close Up Boxes
After testing the current flow, close up each switch box and secure the switch plate. Make sure everything is tight and the wiring follows local building code standards.
How to Wire a 3-Way Switch With Three Lights
Understanding the Wiring Diagram
A 3-way switch diagram is crucial when you’re adding multiple lights. These diagrams show how electrical circuit components connect and help avoid a short circuit.
Connecting Multiple Fixtures
Depending on how you want the lights to turn on, connect them in parallel or series..Each light fixture connection should link correctly to your load wire and neutral wire.
Safety Checks and Code Compliance
Always check the wire color codes and label your wires. Make sure your work complies with your local building code and use proper protective gear.
Testing and Troubleshooting
Once connected, turn the circuit breaker back on. Flip each switch to check the lighting control. If lights don’t respond, troubleshoot using a voltage tester and confirm your traveler terminals are correct.
Step-by-Step Visual Schematic
Refer to this illustrated guide: 3 Way Switch Wiring Diagram PDF. It gives a clear view of all terminals, wire paths, and switch actions.
Troubleshooting Common 3 Way Switch Wiring Issues
If your light flickers or doesn’t respond, the issue may be with a loose wire connection or reversed traveler terminals. Use your voltage tester and recheck the common terminal and hot wire.
Another common issue is forgetting to connect the neutral wire, especially when using multiple fixtures. For persistent problems, refer to a 3-way switch diagram or call an electrician.
Safety Precautions for 3 Way Switch Wiring
Never work on electrical wiring without turning off the circuit breaker. Always test for live wire before touching any component. Use insulated tools and wear safety gear.
Follow all rules in the National Electrical Code (NEC) and always check local rules. Label wires clearly and check that your electrical box is rated for the number of wires inside.
Share This Guide
Know someone struggling with wiring a 3-way light switch? Share this with a friend or neighbor. Help others learn why to use a 3-way switch and how to do it safely.
Disclaimer
This article is meant for educational purposes. If unsure or uncomfortable, always consult a licensed electrician. Follow all local building code rules.
Designed & Developed
Crafted with care by DIY Electrical Enthusiasts USA. Learn more at electrical101.com.
FAQs:
Which wire goes where on a 3-way switch?
The common terminal connects to the hot wire or load wire, while the two traveler wires connect to the traveler terminals (usually brass-colored screws).
What occurs if the wiring of a three-way switch is incorrect?
Improper wiring can cause the lights to flicker, not turn on at all, or only work from one switch location—creating safety and functionality issues.
Does the location of the traveler wires on a three-way switch matter?
Yes, traveler wires must be connected to the traveler terminals; reversing them won’t break the circuit, but it may cause the switches to operate inconsistently.
What distinguishes a 3-way light switch from a 2-way light switch?
A 2-way switch controls a light from one location, while a 3-way switch allows control from two different locations using traveler wires.
How to determine which wire is the traveler wire?
Use a voltage tester to identify which wires carry current when one switch is flipped—these are typically your traveler wires.